How to delete a contact in salesforce?
To delete a contact in Salesforce, you can follow these steps:
- From the main menu, navigate to the "Contacts" section. This can usually be found in the top navigation bar or in the sidebar menu, depending on your Salesforce setup.
- Once you're in the Contacts section, locate and select the specific contact that you wish to delete. You can search for the contact using the search bar or browse through the contact list.
- After selecting the contact, you will see a ribbon or toolbar with various options. Look for the "Delete Contact" button and click on it.
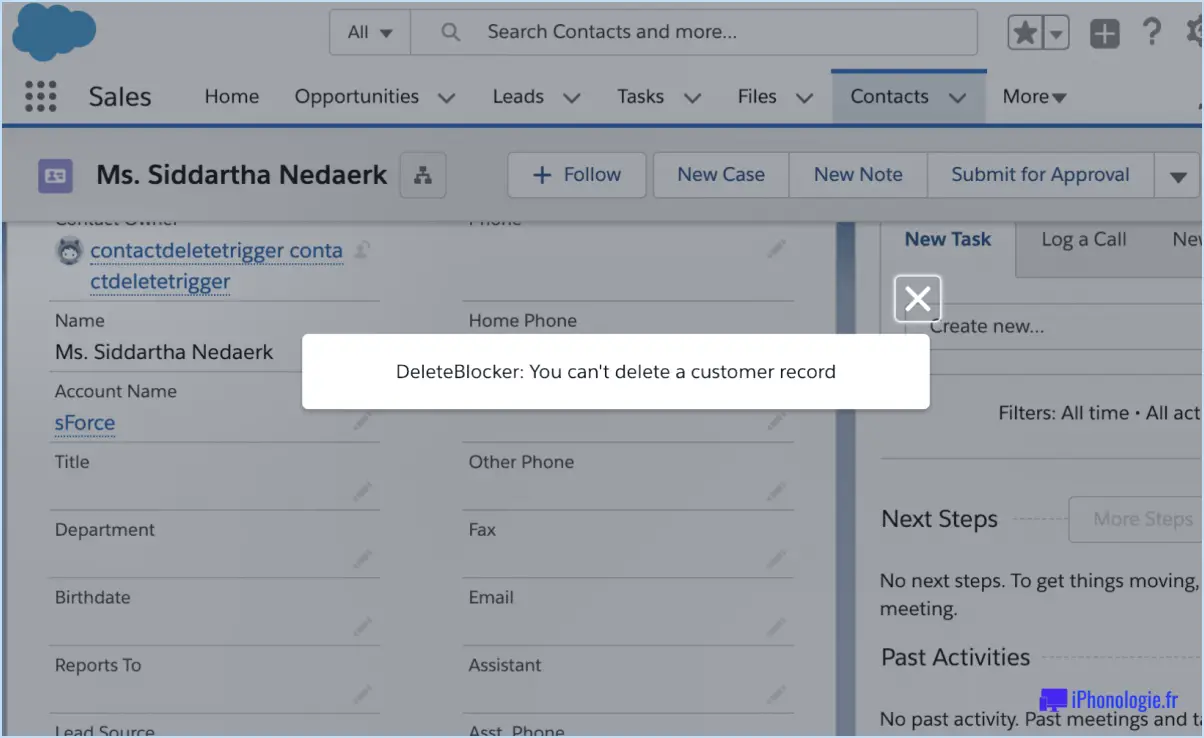
- A confirmation message will appear to ensure that you intend to delete the contact. Review the message to make sure you've selected the correct contact for deletion.
- Finally, click on the "OK" button to confirm the deletion of the contact from your Salesforce account.
It's important to note that deleting a contact in Salesforce permanently removes the contact from your account. This action cannot be undone, so ensure that you have selected the right contact before proceeding with the deletion.
Deleting a contact can be a necessary step when managing your Salesforce database, especially when dealing with outdated or duplicate records. By keeping your contact list clean and organized, you can maintain accurate data and improve the efficiency of your sales and marketing efforts.
Remember to regularly review and clean up your contact database to ensure its reliability and effectiveness. Salesforce provides powerful tools for managing your contacts, so take advantage of them to optimize your customer relationship management process.
How do I delete multiple users in Salesforce?
To delete multiple users in Salesforce, you can follow these simple steps:
- Log in to your Salesforce account: Visit the Salesforce website and enter your login credentials to access your account.
- Click Users and Groups: On the left-hand side of the page, locate and click on the "Users and Groups" option. This will take you to the user management section.
- Select the user or group: Identify the specific user or group that you wish to delete. Click on their name to view their details.
- Click the Delete button: Once you have selected the user or group, look for the "Delete" button located next to their name. Click on it to initiate the deletion process.
By following these steps, you will be able to delete multiple users in Salesforce efficiently. Remember to exercise caution while deleting users, as this action cannot be undone.
How do I delete emails in Salesforce lightning?
To delete emails in Salesforce Lightning, follow these steps:
- Open your Salesforce account and navigate to the Email section.
- Locate the emails you wish to delete.
- Select the checkboxes next to the emails you want to remove.
- Once you have made your selections, find the "Delete Selected Emails" button. It is typically located at the top or bottom of the email list.
- Click on the "Delete Selected Emails" button to initiate the deletion process.
By following these steps, you can efficiently mass delete emails in Salesforce Lightning. Remember to exercise caution when selecting emails for deletion to avoid removing any important or critical messages.
How do I prevent duplicate contacts in Salesforce?
To prevent duplicate contacts in Salesforce, you can utilize the Contact Matching feature. This powerful tool enables you to identify and manage duplicate contacts effectively. Here's how you can leverage it:
- Enable Contact Matching: In Salesforce, navigate to Setup, then search for "Duplicate Rules." Create a new Duplicate Rule and select "Contacts" as the object to match.
- Define Matching Criteria: Specify the criteria for identifying duplicate contacts. This can include fields like name, email, or phone number. Adjust the matching thresholds based on your preference.
- Activate the Duplicate Rule: Once you've configured the matching criteria, activate the Duplicate Rule to start detecting and flagging potential duplicates.
- Review and Merge Duplicates: Regularly review the duplicate records flagged by Salesforce. You can then merge the duplicates manually or automate the process using the Mass Merge feature.
By leveraging Contact Matching in Salesforce, you can maintain a clean and consolidated contact list, minimizing the occurrence of duplicate entries.
Can the user records be permanently deleted from Salesforce com?
Yes, user records can be permanently deleted from Salesforce.com. Salesforce.com provides robust data management features that allow users to delete records permanently when needed. Here are the key points to consider:
- Data Retention Policies: Salesforce.com allows organizations to define data retention policies based on their specific requirements. These policies determine how long different types of data are retained in the system before they are permanently deleted.
- Soft Deletion: When a user record is deleted in Salesforce.com, it initially goes to the "Recycle Bin," where it can be restored if needed. However, this is a temporary state, and the record can be permanently deleted from the Recycle Bin as well.
- Permanent Deletion: Salesforce.com offers a "Permanent Delete" option, which allows administrators to remove records from the Recycle Bin permanently. Once permanently deleted, the records cannot be recovered or restored.
- Data Recovery: It's important to note that once user records are permanently deleted, they cannot be recovered through the native Salesforce.com interface. However, Salesforce.com provides limited data recovery services through its Data Recovery Service, which can assist in recovering data in certain scenarios (additional fees may apply).
In summary, Salesforce.com provides the necessary tools and features to permanently delete user records, ensuring data privacy and compliance with organizational data retention policies.
How do I create a contact list in Salesforce?
To create a contact list in Salesforce, follow these steps:
- Create a new contact record: Start by navigating to the Contacts tab in Salesforce. Click on the "New" button to create a new contact record. Fill in the required contact information such as name, email address, phone number, and any other relevant details.
- Enter contact details: Provide all necessary contact details in the respective fields, ensuring accuracy and completeness of information. This includes personal information, professional details, and any custom fields specific to your organization.
- Utilize Contact Builder: Once you have created the initial contact record, you can leverage Salesforce's Contact Builder feature to create additional contact records based on the existing data. Contact Builder allows you to copy information from the original contact record to create new contacts efficiently.
- Duplicate or clone contacts: If you need to add similar contacts to your list, you can duplicate or clone existing contact records. This can save time by pre-populating common information and reducing manual data entry.
- Organize contacts into lists: Salesforce provides various ways to organize your contacts into lists for better management. You can use tags, folders, or custom fields to categorize contacts based on criteria such as location, industry, or customer type.
Remember to regularly update your contact list as new contacts are acquired or existing information changes. This will ensure that your Salesforce database remains accurate and up to date.
How do I edit an email template in Salesforce?
To edit an email template in Salesforce, follow these steps:
- Open the "Email" section of your account.
- Locate the template you wish to customize.
- Click on the template to open it for editing.
- Make the desired changes to the text and formatting.
- Save your modifications.
Salesforce allows you to edit email templates just like any other document. This flexibility enables you to tailor the template to your specific needs. By following these simple steps, you can easily customize and update your email templates in Salesforce.
Where is merge contacts in Salesforce?
To merge contacts in Salesforce, navigate to the Salesforce admin area. Once there, locate the Contact list tab. Under this tab, you will find the option to merge contacts. This feature allows you to combine duplicate or similar contacts into a single record, ensuring data accuracy and streamlining your contact management process. By merging contacts, you can consolidate information and avoid redundancy in your Salesforce database. Remember to review and confirm the merged contact details before finalizing the process.